High quality product photos are one of the biggest factors in whether an Etsy listing gets clicked or skipped. If you sell print on demand products like mugs, apparel, or stationery, PSD mockups allow you to create professional looking images without ordering samples for every design.
This guide explains what PSD mockups are, why they work so well for Etsy, and how to use them correctly in Adobe Photoshop or Photopea.
What is a PSD mockup?
A PSD mockup is a layered file that uses smart objects to display your design on a real product photo. Instead of manually editing artwork onto an image, you replace the smart object and the mockup updates automatically.
PSD mockups are popular with Etsy sellers because they:
- Save time
- Look realistic
- Create consistent listing images
- Make it easy to update designs
They are especially useful for physical products where lighting, shadows, and perspective matter.
Why PSD mockups work so well for Etsy
Etsy buyers decide quickly whether a listing feels trustworthy. Clean, realistic photos help shoppers imagine the final product and feel confident purchasing.
PSD mockups work well because:
- They show products in real life settings
- Lighting and shadows look natural
- Designs appear properly placed on the product
- Listings look cohesive across your shop
This is particularly important for curved products like mugs, where flat images can look unrealistic.
What you need to use PSD mockups
To use PSD mockups, you will need:
- Adobe Photoshop or Photopea
- A design file such as a PNG or JPG
- A high resolution PSD mockup
Photopea is a web based editor that supports PSD smart objects and works well for most mockups. Canva does not support PSD smart objects, so it cannot be used for this type of editing.
How to use a PSD mockup step by step
Using a PSD mockup is simpler than it sounds. The same steps apply whether using Photoshop or Photopea.
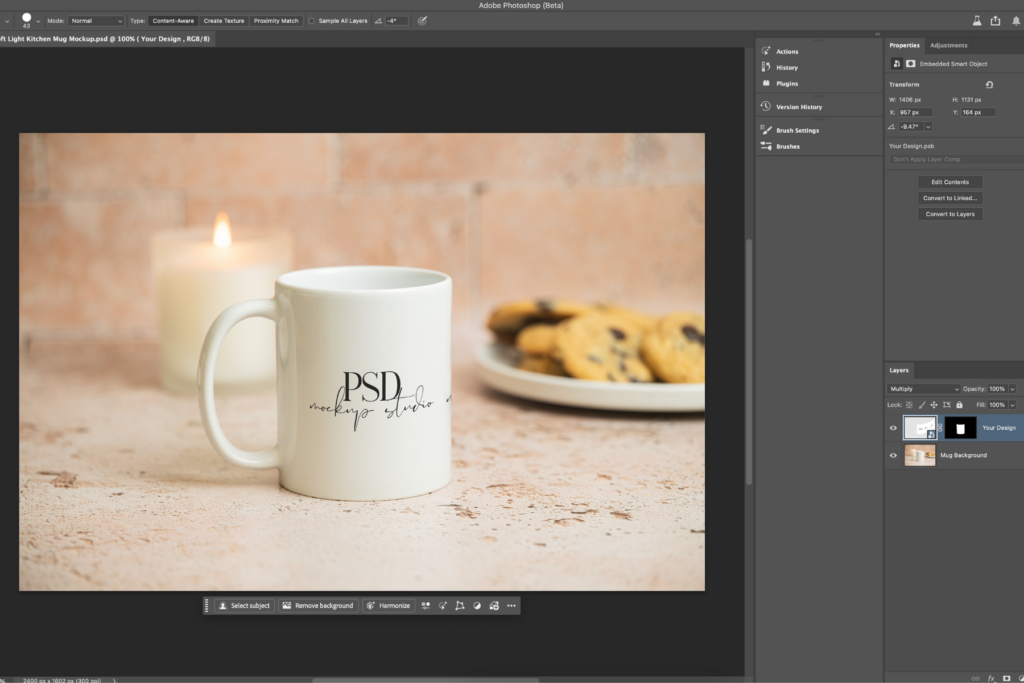
- Open the PSD file in Photoshop or Photopea
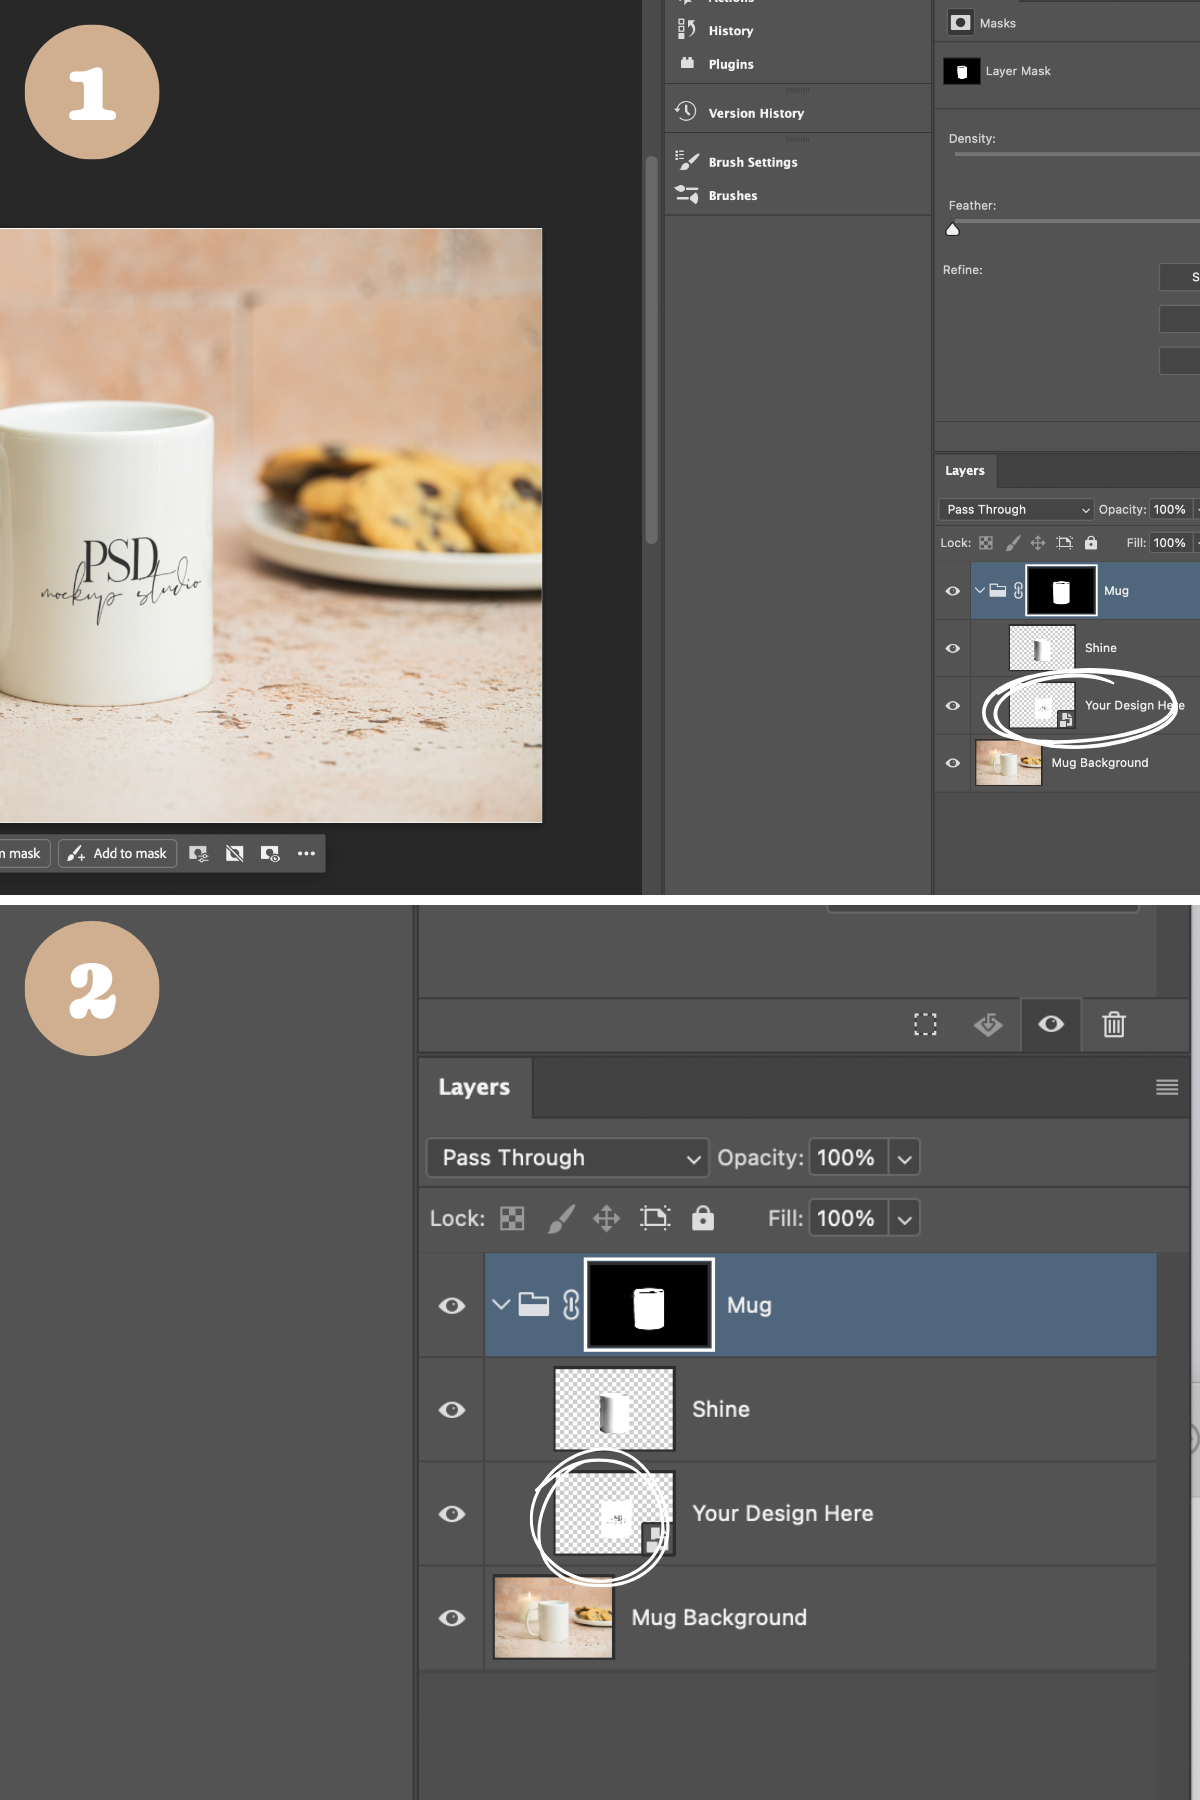
- In the Layers panel, locate the layer labeled “Design Here”
- Double click the smart object as pictured below, or right click and select ‘Replace contents.’
- Select your design file and drop it onto the smart object placeholder.
- Save the smart object.
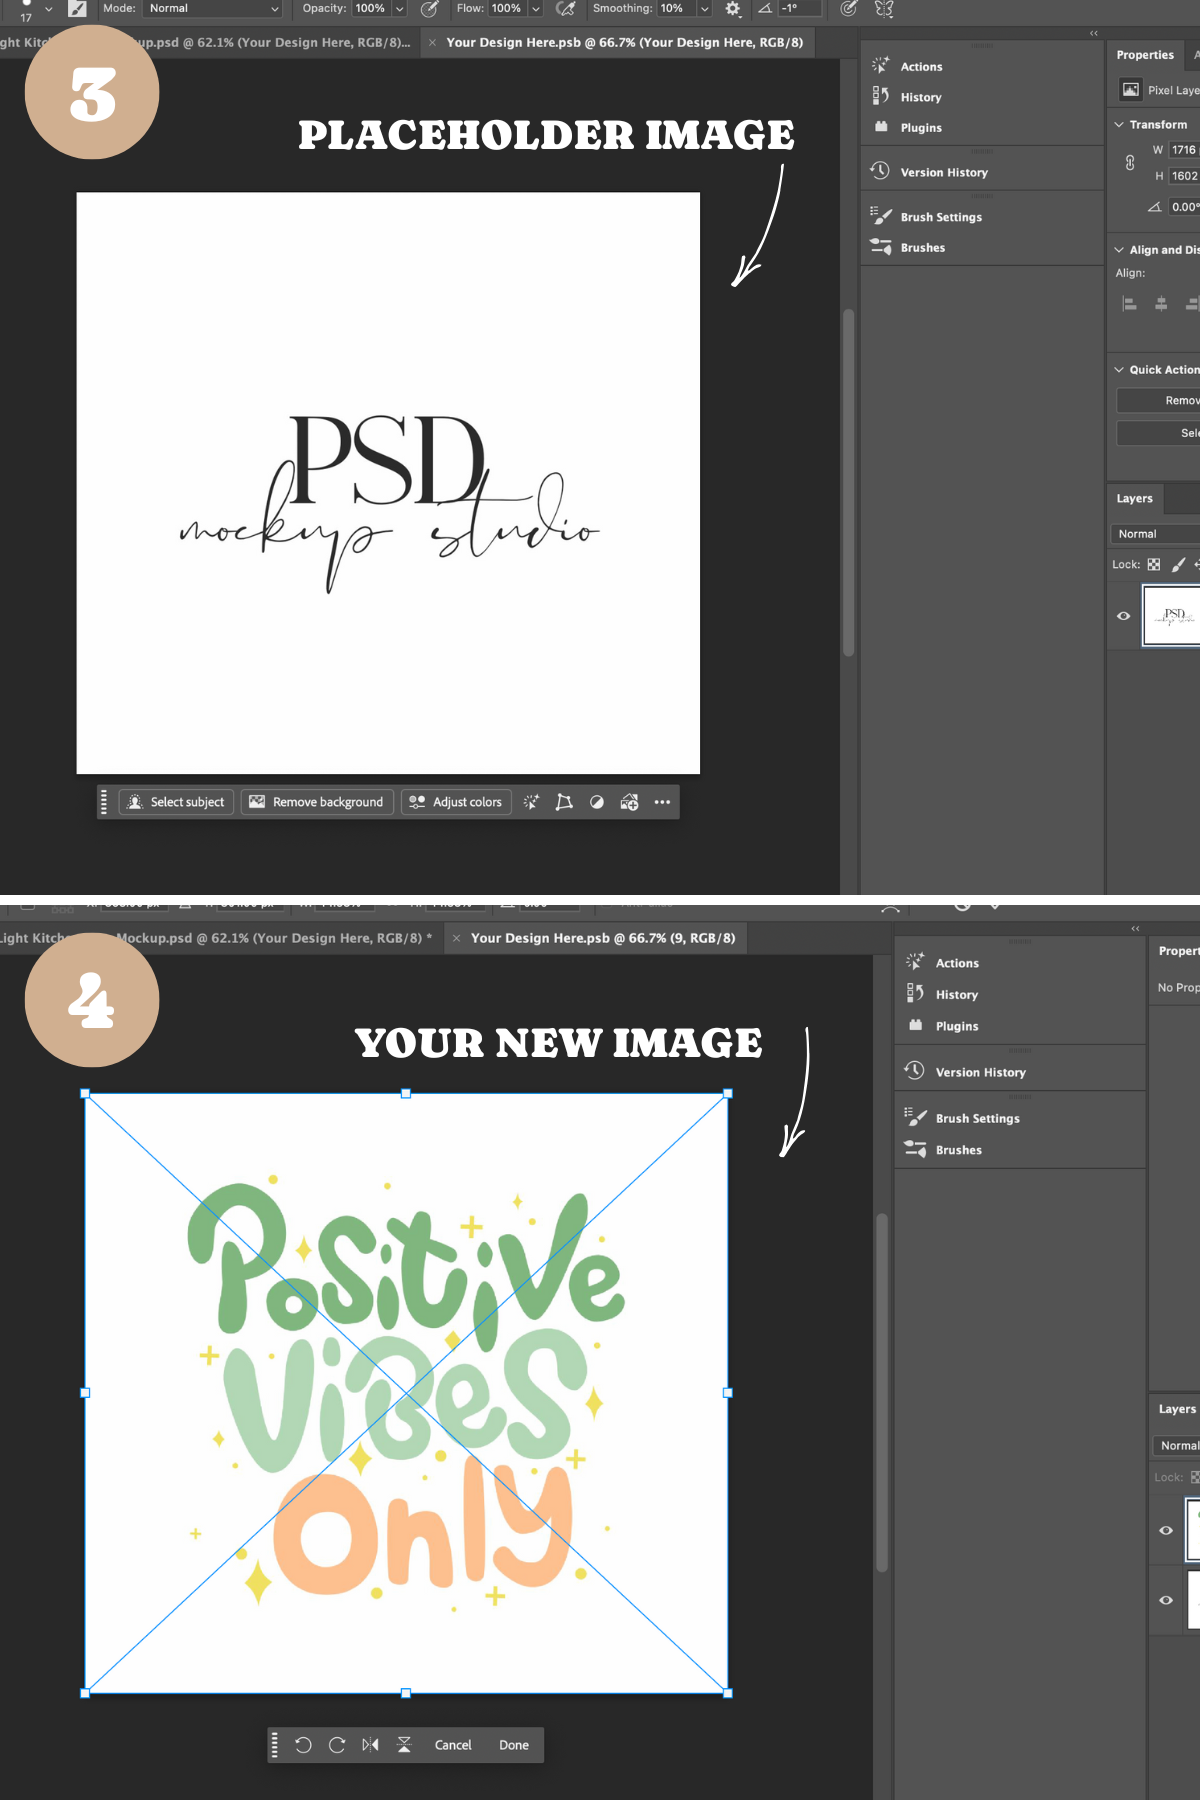
Your design will appear on the product automatically, with lighting and perspective already applied.
How to move or resize your design
Mockups are designed to be flexible. If your design does not sit exactly where you want it, you can easily adjust it.
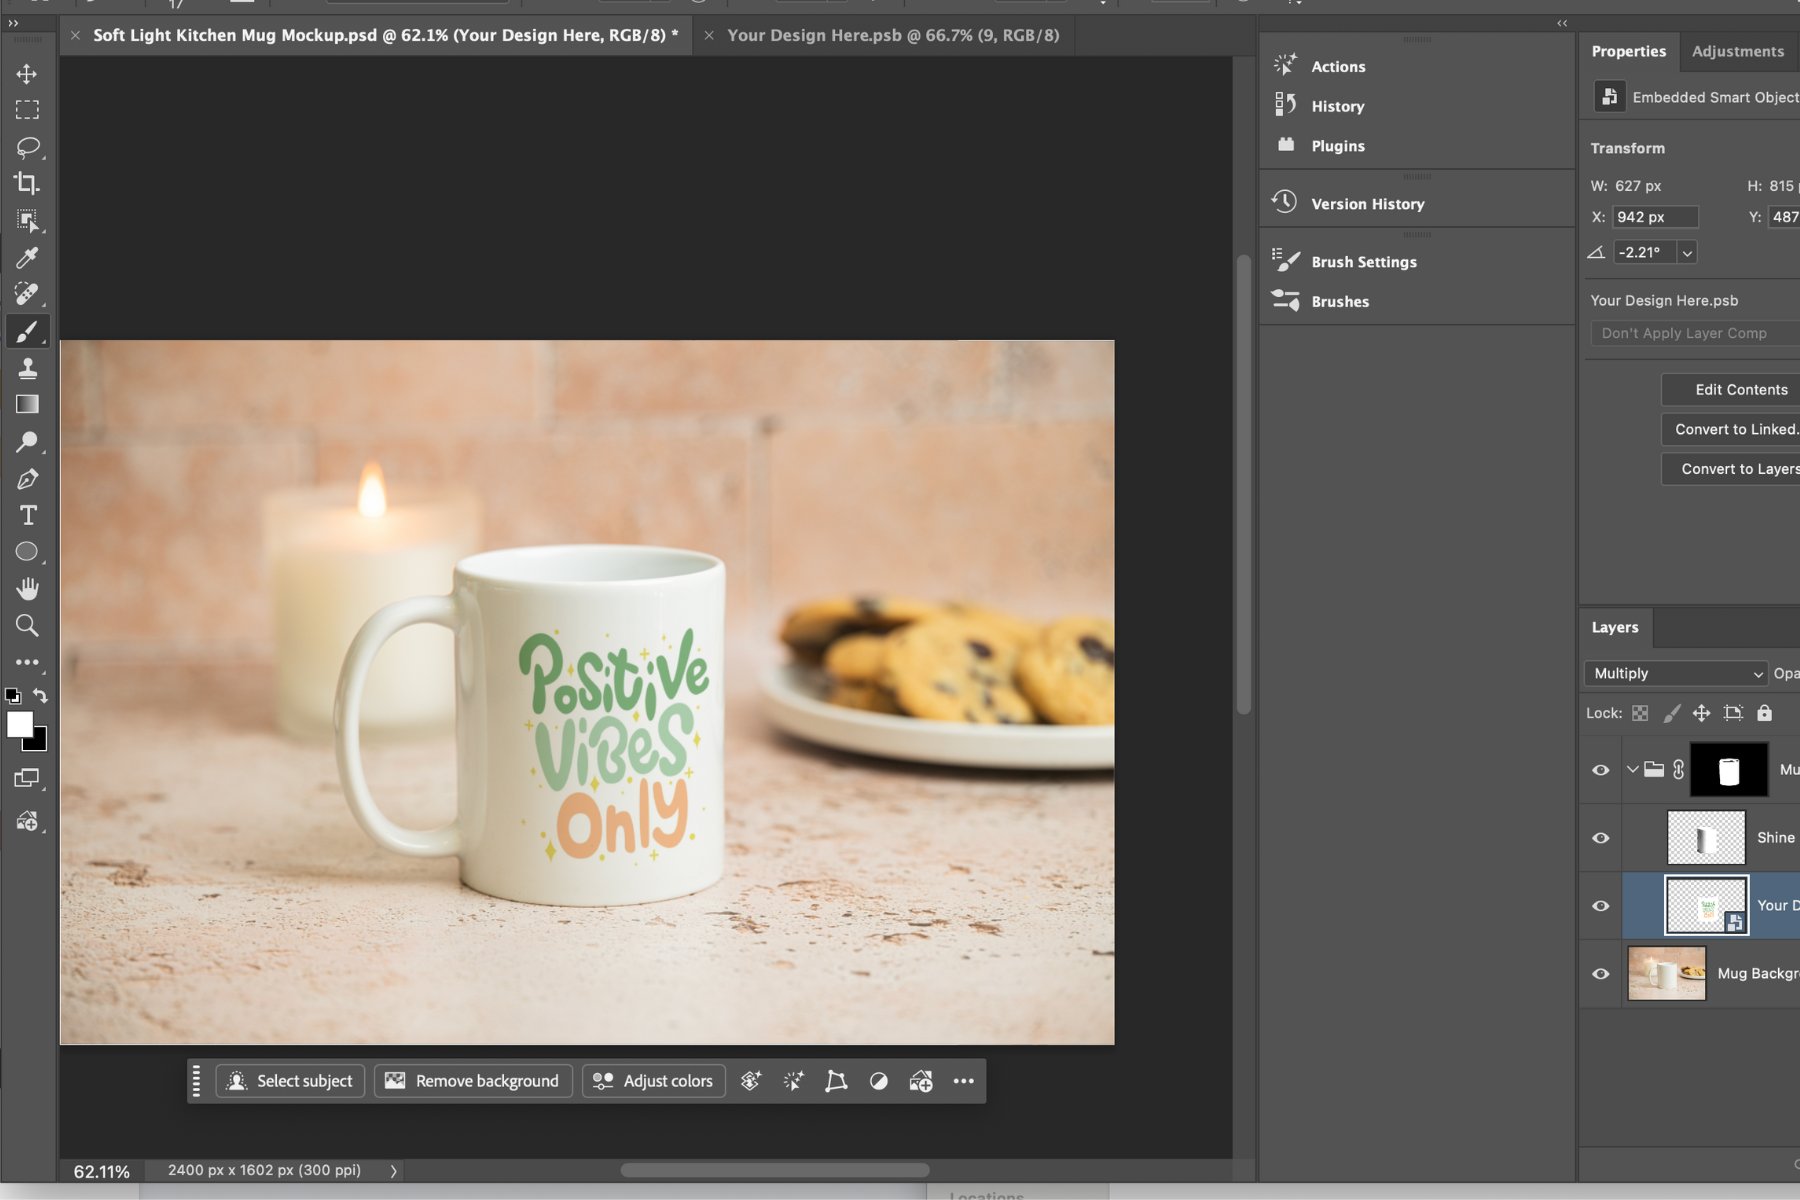
- Double click the smart object thumbnail to open it
- Select your design layer inside the smart object
- Use the Move tool to reposition the design
- Use Transform to resize if needed
- Save and close the smart object
The main mockup will update automatically.
This allows you to center designs, shift them slightly left or right, or adjust scale to suit your artwork.
How warping works in PSD mockups
Many PSD mockups already include subtle warping to help designs follow the curve of the product. In most cases, you do not need to adjust this at all.
If a mockup includes built in warping, it is applied to the smart object. When you replace the contents, the warp updates automatically and your design follows the shape of the product.
When you do not need to warp anything
You usually do not need to change the warp if:
- Your design is simple or centered
- The product is shown at a slight angle
- The mockup is created from real photography
In these cases, replacing the smart object is all you need to do.
How to adjust the warp if needed
If your design looks slightly flat or misaligned, you can make small warp adjustments.
- Open the smart object
- Select your design layer
- Choose Transform, then Warp
- Make very small adjustments
- Save and close the smart object
A light touch works best.
PSD mockups vs Canva mockups
Canva mockups are quick and easy, but they are often limited in realism and flexibility. PSD mockups used in Photoshop or Photopea allow for more control and typically look more professional, especially for curved products like mugs.
PSD mockups are a better choice if you want realistic results and consistent listing images.
Tips for using mockups in Etsy listings
To get the most from your mockups:
- Use one clean mockup image as your main listing photo
- Avoid adding text overlays on top of images
- Keep styling consistent across listings
- Use the same mockup style for similar products
Consistency helps your shop feel established and trustworthy
Choosing the right mockup style for your product
Different products benefit from different mockup styles.
Product specific mockups
Product focused scenes, such as mug mockups, work well when the design itself is the main feature. These are ideal for:
- Typography designs
- Illustration based artwork
- Sublimation products
You can browse PSD Mug Mockups if you want scenes designed specifically for drinkware.
Lifestyle mockups
Lifestyle mockups place your product into a styled environment. These are useful when you want to show how a product fits into everyday life.
They work especially well for:
- Candles
- Home goods
- Stationery
- Brand focused listings
Lifestyle mockups help shoppers imagine owning and using the product, which can increase engagement.
How many mockup images should you use on Etsy?
For most listings:
- Use one strong hero image
- Add one or two supporting mockup images
- Keep the rest of the images consistent
Using too many different mockup styles can make a listing feel messy. Consistency across your shop is more important than variety.
Common mistakes to avoid
- Using mockups that look overly staged or unrealistic
- Mixing too many different styles in one listing
- Stretching or distorting designs inside the smart object
- Uploading low resolution exports
Clean, realistic images almost always perform better than busy or heavily styled ones.