If you sell products on Etsy or run an online shop, you already know that great product photos make a huge difference. PSD mockups let you place your designs onto realistic product images without needing to photograph anything yourself. The problem? Most PSD mockups require Photoshop, and Photoshop costs money.
The good news: you can edit PSD mockups for free using Photopea, a browser-based editor that works almost exactly like Photoshop. No downloads, no subscriptions, no account needed. Just open a browser and start editing.
In this guide, I will walk you through exactly how to open, edit, and export a PSD mockup using Photopea. By the end, you will be able to place any design onto a mockup and have a professional product image ready for your listings.
What is Photopea?
Photopea is a free online image editor that runs entirely in your web browser. It supports PSD files (the same format Photoshop uses), including smart objects, layers, and blending modes. This means you can open any PSD mockup and edit it the same way you would in Photoshop.
You can access it at photopea.com. There is nothing to install and it works on any computer, including Chromebooks and older machines that might struggle to run Photoshop.
What You Will Need
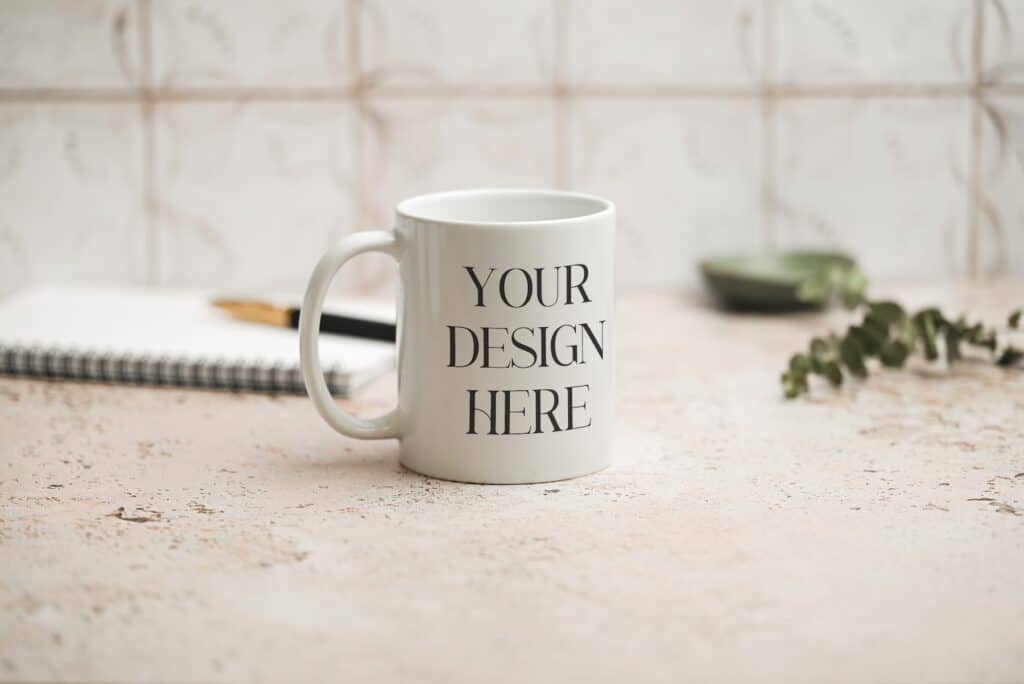
- A PSD mockup file (if you do not have one yet, you can grab a free real photo mug mockup from PSD Mockup Studio to practise with)
- Your design file (PNG or JPEG works best)
- A web browser (Chrome, Firefox, Safari, or Edge all work)
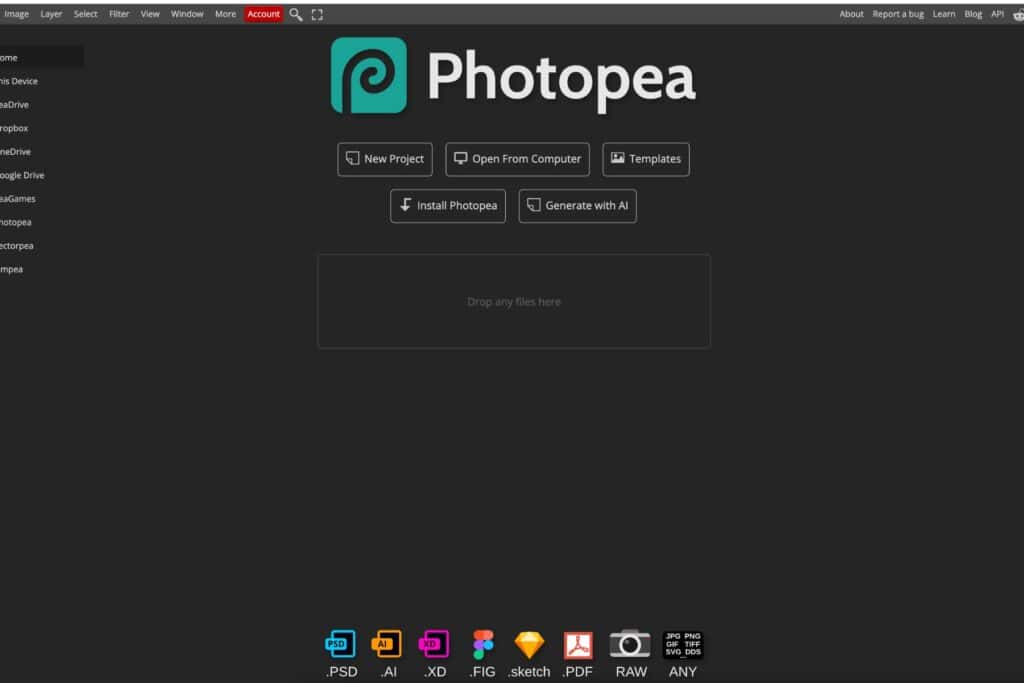
Step 1: Open Photopea
Go to photopea.com in your browser. You will see an interface that looks very similar to Photoshop, with a toolbar on the left, layers panel on the right, and a menu bar at the top.
You do not need to create an account. Just go straight to the site and you are ready to start.
Step 2: Open Your PSD Mockup
There are two ways to open your mockup file:
Drag and drop: Simply drag the PSD file from your computer and drop it onto the Photopea window.
File menu: Click File > Open, then browse to your PSD file and select it.
Once the file opens, you will see the mockup image appear on the canvas with all its layers visible in the Layers panel on the right side.
Step 3: Find and Open the Smart Object Layer
This is the key step. PSD mockups use something called a “smart object” to make editing easy. The smart object is a special layer where you paste your design, and the mockup automatically wraps it onto the product with the correct perspective, lighting, and shadows.
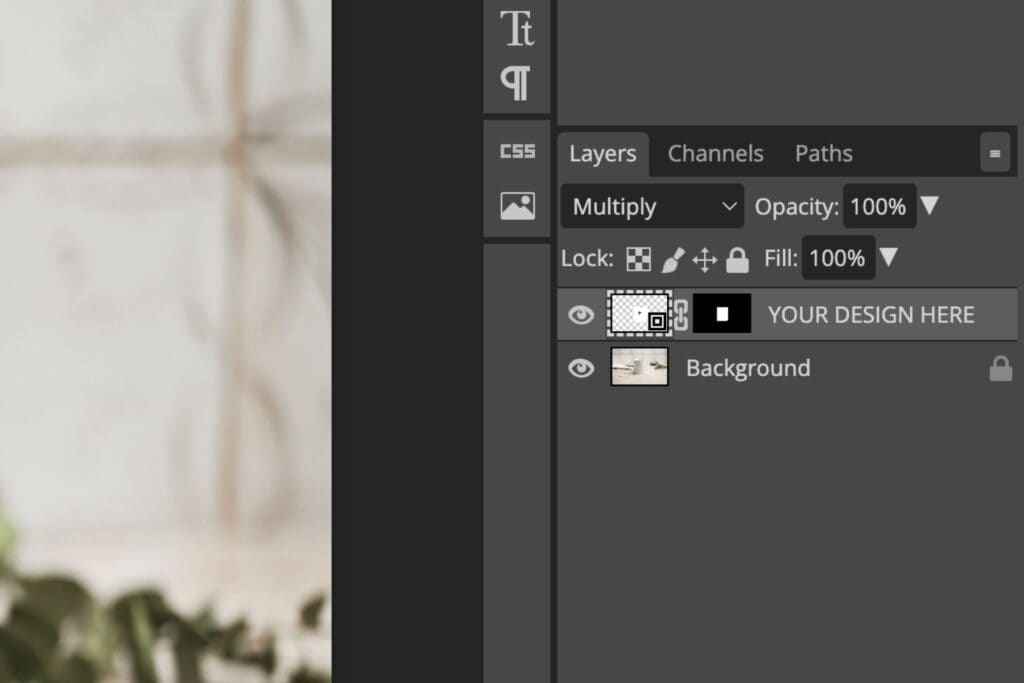
In the Layers panel on the right, look for a layer that has a small icon on its thumbnail (it looks like a tiny page or document symbol). This layer is usually named something like “Your Design Here,” “Place Design,” or “Smart Object.”
Double-click on that layer’s thumbnail to open the smart object. A new tab will appear at the top of Photopea. This new tab is where you will place your design.
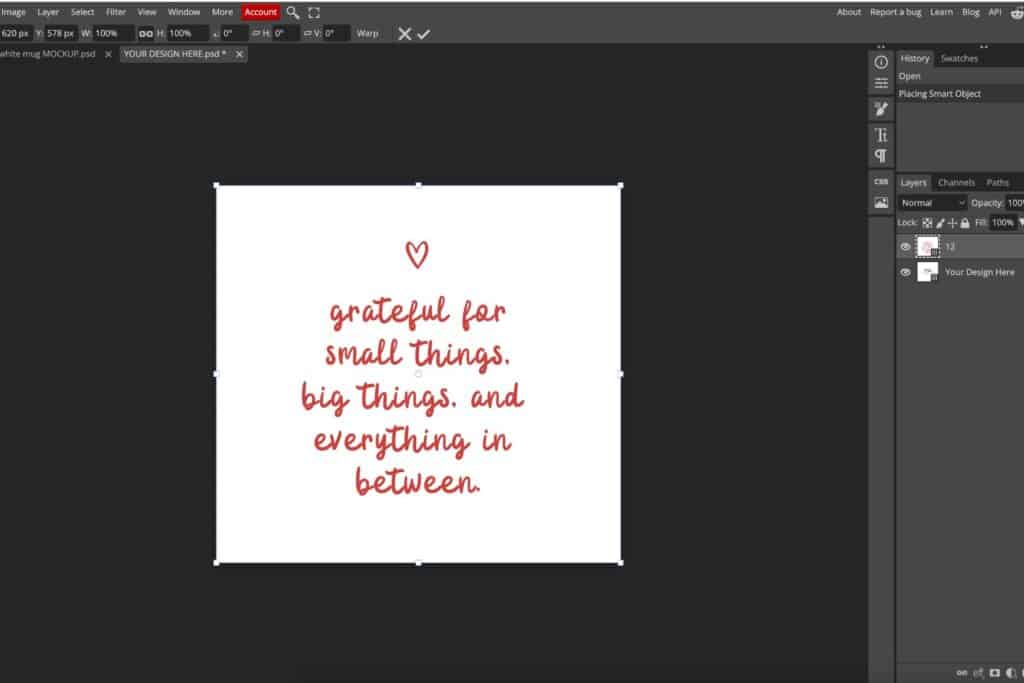
Step 4: Place Your Design
Now you are inside the smart object. You should see a blank or placeholder area. This is where your design goes.
Drag your design file (PNG or JPEG) directly into this smart object tab. Alternatively, go to File > Open & Place.
Your design will appear on the canvas. You can resize it by dragging the corner handles (hold Shift to keep the proportions locked). Position it so it fills the area, then press Enter to confirm the placement.
If there is a placeholder layer underneath your design, you can hide or delete it by clicking the eye icon next to it in the Layers panel.
Step 5: Save and Close the Smart Object
This is the step people often miss. After placing your design, you need to save the smart object for the changes to appear on the main mockup.
Press Ctrl+S (or Cmd+S on Mac) while you are still on the smart object tab.
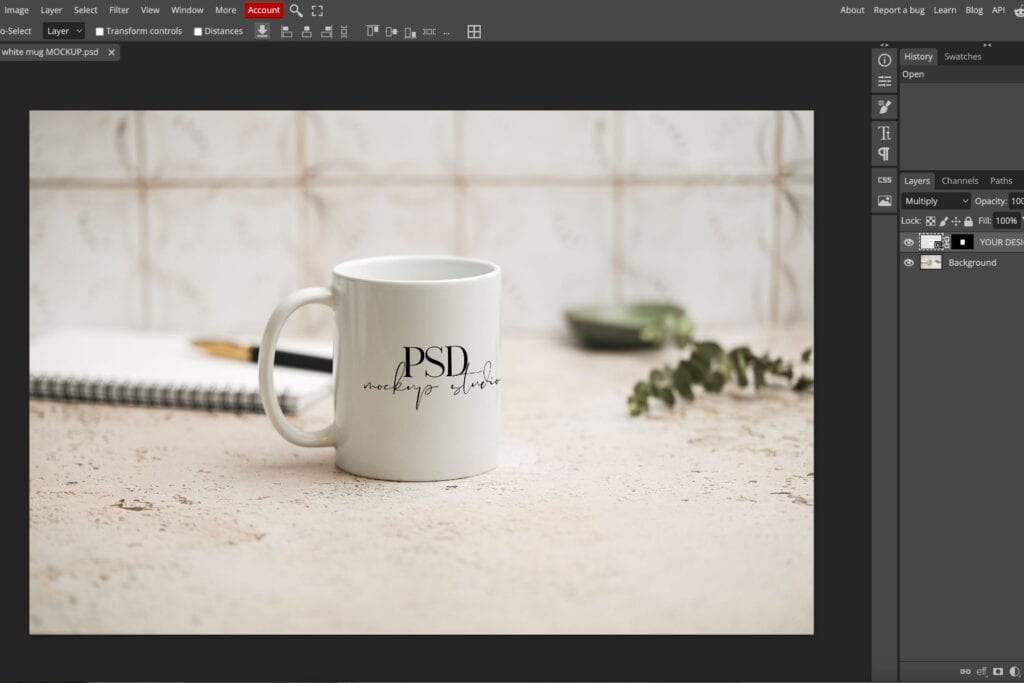
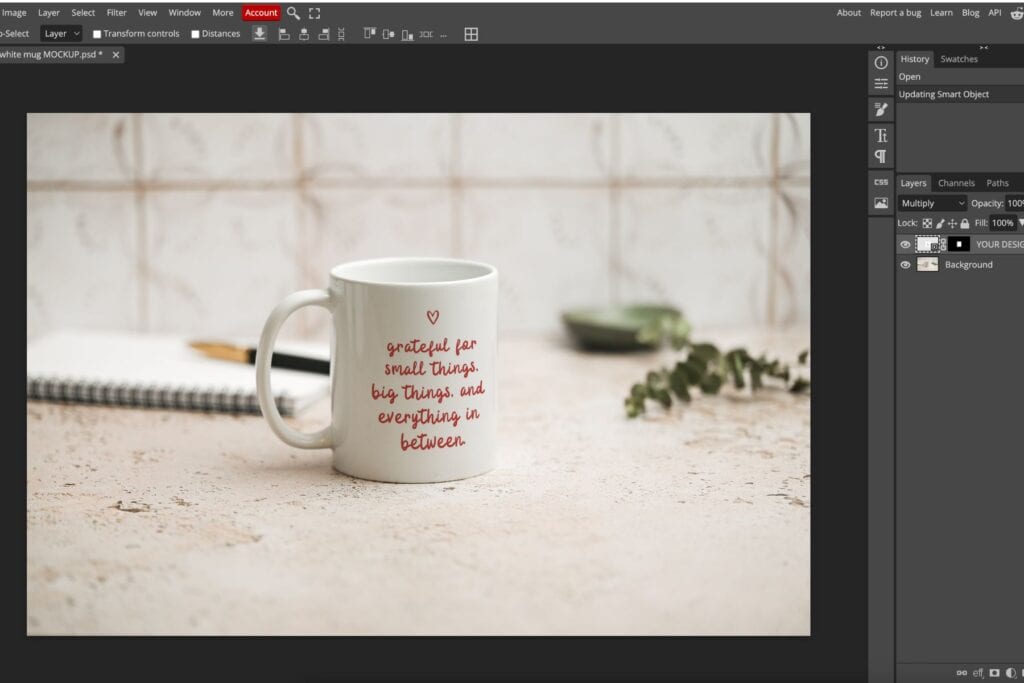
Now click back on the original mockup tab (the first tab at the top). Your design should now appear on the product with all the realistic lighting, shadows, and perspective applied automatically.
Step 6: Export Your Final Image
Your mockup is ready. Now you need to export it as an image file you can use for your Etsy listings or website.
Go to File > Export As > PNG (for best quality) or JPG (for smaller file sizes).
In the export dialog:
- Set the quality to 90-100% for Etsy listings
- Keep the resolution at the original size for the sharpest result
- Click Save and choose where to save the file on your computer
That is it. You now have a professional product mockup image ready to upload to your listings.
Tips for the Best Results
Match your design size to the smart object
Before placing your design, check the size of the smart object canvas (look at the dimensions shown at the bottom of the Photopea window). If your design is much smaller than this area, it may appear blurry when scaled up. For best results, make sure your design is at least as large as the smart object area.
Try different mockup scenes
One design can look completely different depending on the mockup scene you use. A mug design in a cosy kitchen setting tells a different story than the same design on a plain white background. Try a few different mockups to see which one works best for your listings.
Common Problems and Fixes
“I cannot find the smart object layer”
Some mockups name the layer differently. Look for any layer with the small document icon on its thumbnail. If you still cannot find it, try expanding any layer groups (folders) in the Layers panel by clicking the arrow next to them.
“My design looks blurry”
This usually means your design file is too small. Check the smart object dimensions and make sure your design matches or exceeds that size. For most mockups, you will want a design that is at least 2000px wide.
“The design did not appear on the mockup”
You likely forgot to save the smart object. Click back on the smart object tab and press Ctrl+S (Cmd+S on Mac), then switch back to the main mockup tab.
“The shadows and lighting do not look right”
Make sure you are using a real photo mockup rather than a flat or AI-generated one. Real photo mockups have natural lighting and shadows baked into the file, so your design blends in naturally. 3D renders and AI mockups often have flat or artificial lighting that can make designs look pasted on.
Try It Yourself with a Free Mockup
Want to practise? Download a free real photo mug mockup from PSD Mockup Studio and follow along with the steps above. It is a high-resolution PSD file with smart objects, made from real photography.
If you are looking for more mockups for your shop, you can browse the full collection of real photo mockups including mugs, candles, notebooks, and more.
If you found this guide helpful, you might also like: